
Audience: Event Manager
Introduction
The attendee tracking process begins when individuals register for an event and ends with the registrant being marked as attended. This article will walk you through the registration process, provide guidance on how to manage an event waitlist, outline the different ways you can check-in event registrants and how to log event walk-ins.
Note: To view the full list of notifications for the Event Journey, click here. (You must be signed into your @scorevolunteer.org account.)
Table of Contents:
Volunteer Registration
There are cases when a volunteer is also a client and attends events and receives mentoring. If a volunteer is attending an event in a client capacity and would like to register for the event, we recommend they use their personal email address so their interactions with SCORE as a client and a volunteer can be tracked separately. If they are attending an event in a volunteer capacity, they should not register for the event like a client, so they are not included in the attendees reported for that event.
If the volunteer is attending an event as a volunteer for provisional training or for other volunteering reasons, they must register for the event directly with the Zoom link and not through Engage. The Engage registration is intended to track client attendees and if a SCORE email address is used, it will flag you as a client in our system and will count you as a client in our SBA reports.
Registration Form
The registration form can be accessed using the event’s registration link. This link can be copied into a Constant Contact email or accessed through the website by clicking on the register button.
Note: There are cases when a volunteer is also a client and attends events and receives mentoring. If a volunteer is attending an event in a client capacity and would like to register for the event, we recommend they use their personal email address so their interactions with SCORE as a client and a volunteer can be tracked separately. If they are attending an event in a volunteer capacity, they should not register for the event like a client so they are not included in the attendees reported for that event.
1a) Clicking on the registration link brings you to the registration form. Once on the registration form, the Event Details and Event Contact information will be populated. Here, the registrant will enter their Contact Information and click Next Page.
1b) For Paid Events, click and registrants will be taken to the Payment Information page.
2) The registration is completed when the registrant sees the Thank you for registering this event page.
Email Notifications Info
Event registrants always receive a confirmation email and a reminder email from the system. To view the full list of notifications for the Event Journey, click here. (You must be signed into your @scorevolunteer.org account.)
Zoom Meeting and Zoom Webinar Integrations
Do not change the REGISTRATIONS SETTINGS in Zoom for the Zoom Meeting/Webinar you've created in Engage to registration and attendance errors.
For events that are set up using the integrations tools for both Zoom Meeting and Zoom Webinar, the registrants will receive two initial emails simultaneously – one to confirm the registration of the event and another with the Zoom details.
Waitlisted
Waitlists are managed in the event record page where they show up. Here are the steps to mark the waitlisted registrant to an appropriate status for Engage to process the event correctly.
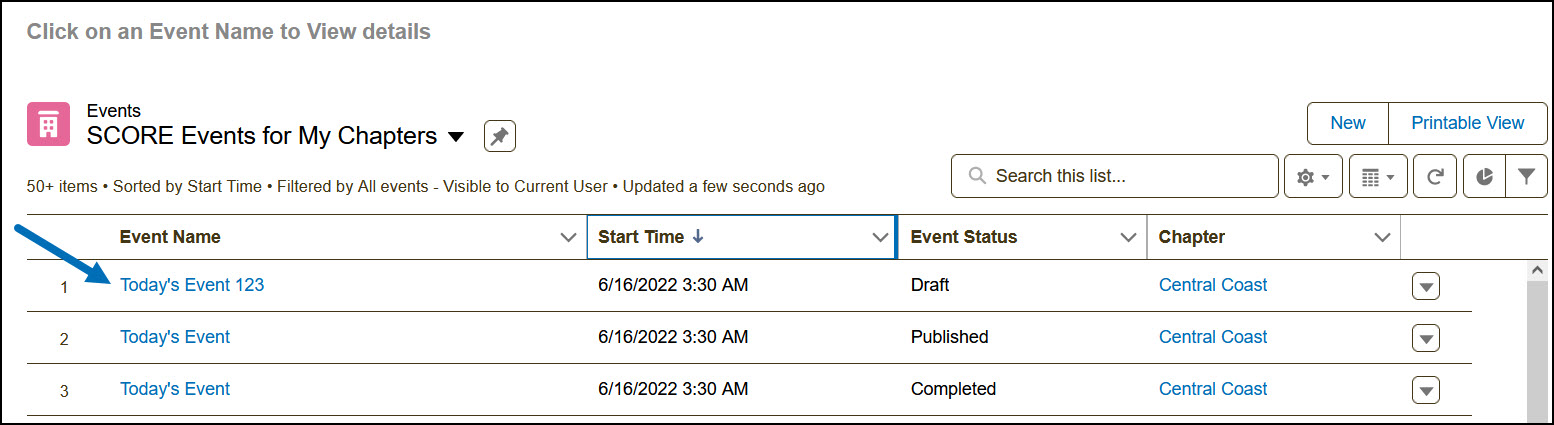
1) From the Home Page, select Events - Last 90 Days. Note: Other list views can also be used here: Upcoming, Need Action, Completed.
2) Select the event record by clicking on the Event Name.
3) In the event record page, look under the Event Registrations related list and click the drop-down arrow , and select Edit. Alternatively, you can click View All to see the list of all registrants.
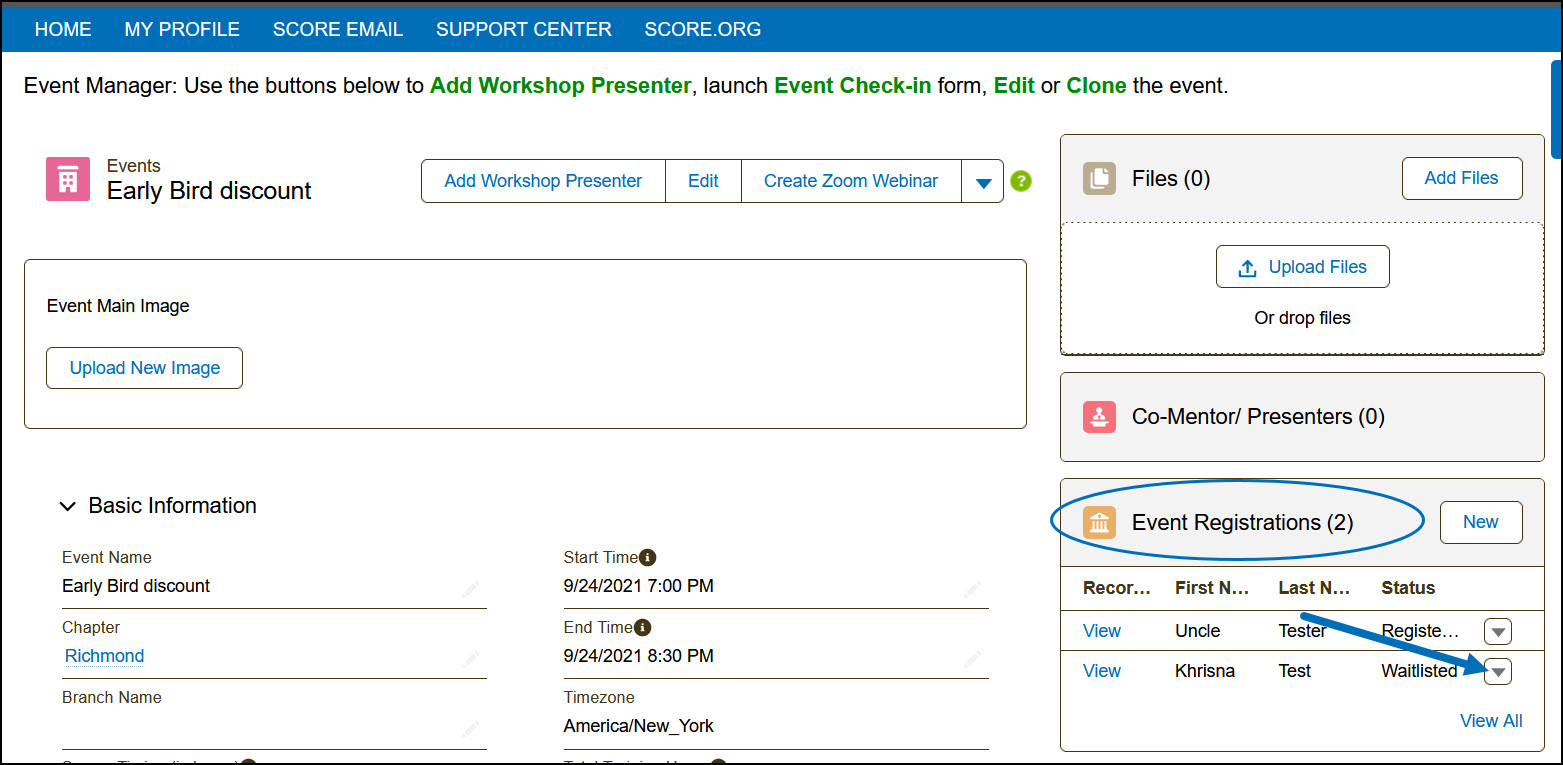
4) In the Edit window, click the Status and change it from the Waitlisted status.
Note that only an event can only be completed when any of these statuses are used: Attended, Canceled, No Show.
Checking In Registrants
You can check in registrants using the tools in the event journey. These two different ways are best used for In-Person Events.
In-Person Events - Event Check-In Form
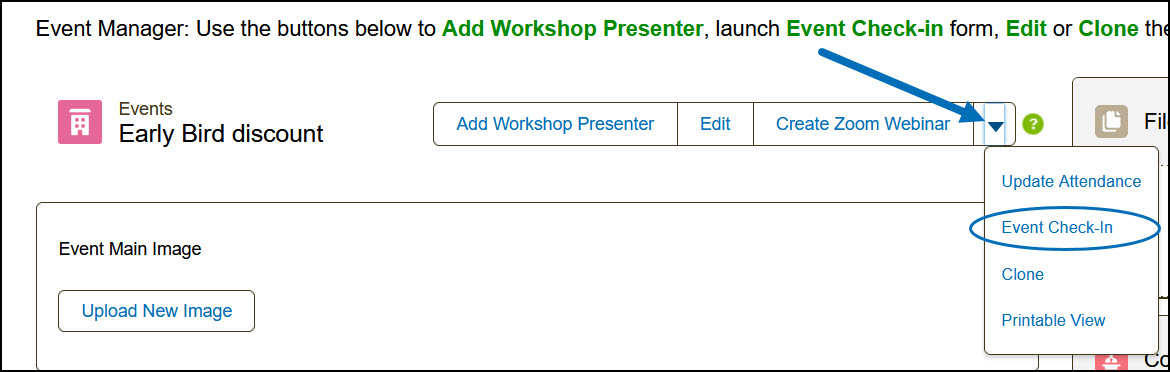
Event Managers can check in a number of registrants using the Event Check-in link.
1) In the event record page, click the drop-down arrow and select the Event Check-in link.
2)Then, enter the registrants First Name, Last Name and Email address.
3a) If they have already registered for the event, a confirmation window will pop up and the registrant will be marked as Attended.
3b) If they have not registered for the event and checking-in on the day of the event, the next pop-up window will redirect you to the Event Registration Form of that event.
In-Person Events - QR Code
Event Managers or a chapter member responsible for checking-in registrants in an In-Person event can use their device to scan a client's QR Code. They can use a QR Code reader featured built-in their mobile devices or download a QR Code scanner application.
1) Scan the QR Code when the client shows this to you.
2) After your device validates the QR Code, you should get a confirmation window that the registrant has been checked-in. This also marks them as Attended in the event record page.
Relevant Resources: |
Comments
0 comments
Article is closed for comments.